d.velop sign for documents
Admin area d.velop sign for documents
In the following, you will learn how to create an assignment as an administrator.
How do I create an assignment of d.velop documents and d.velop sign?
In order to start using the d.velop sign for documents interface, a new assignment must first be created.
Create a new user that you want to use as a system user for the d.velop sign for documents interface.
Important
The system user must not be a user who participates in signature cycles.
Important: We recommend using a general e-mail address and the company name as the name, as this information will be displayed to all recipients in the invitation e-mail.
Select the Digital signature tile in the Connectors and adapters area and click on Administration.
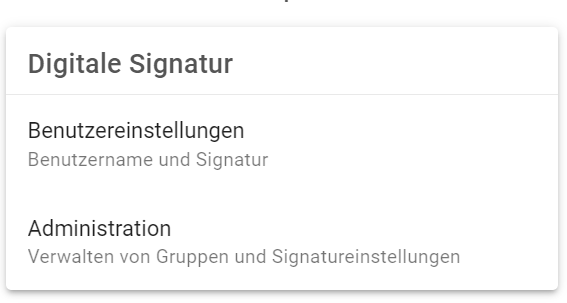
Select Assignment and click on Create assignment.

Your assignment has now been created. To be able to share your documents for signature with external recipients, you now need to store the API-KEY.
Click on Open API-KEY configuration.
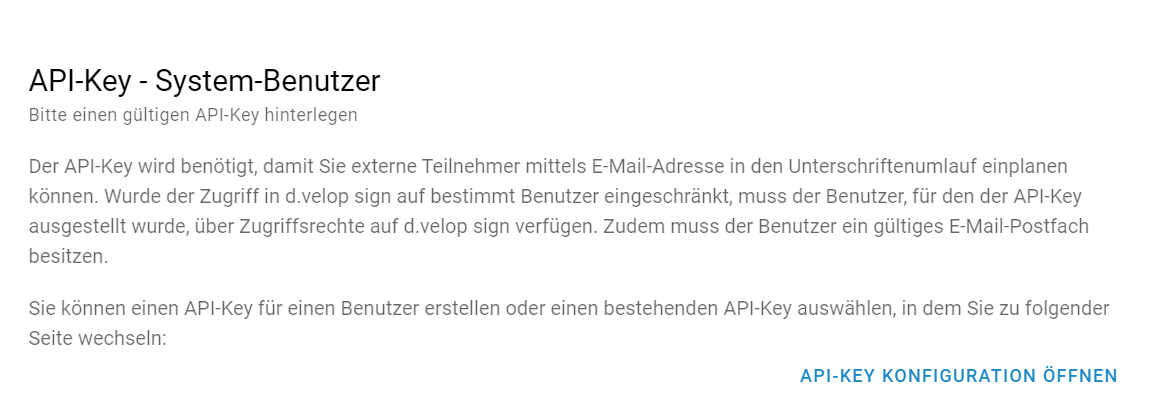
Select the previously created system user and copy the API-KEY.
Click on the arrow to go back and then insert the API-KEY in the field provided. Click on Save.
Done You can now use the interface and sign your documents!
How do I add more users and manage the signature types?
As an administrator, would you like to make onboarding as easy as possible for your users?
No problem. In our general admin area, you will find all information about the admin functions & how to support your users when getting started with d.velop sign.
How do I control the usage rights in d.velop sign for documents?
As an admin, you can assign rights for direct signing as well as rights for creating a signature circulation via the group settings in your settings. The designated persons must be added to the respective group in the group settings.
Select the Digital signature tile in the Connectors and adapters area and click on Administration.
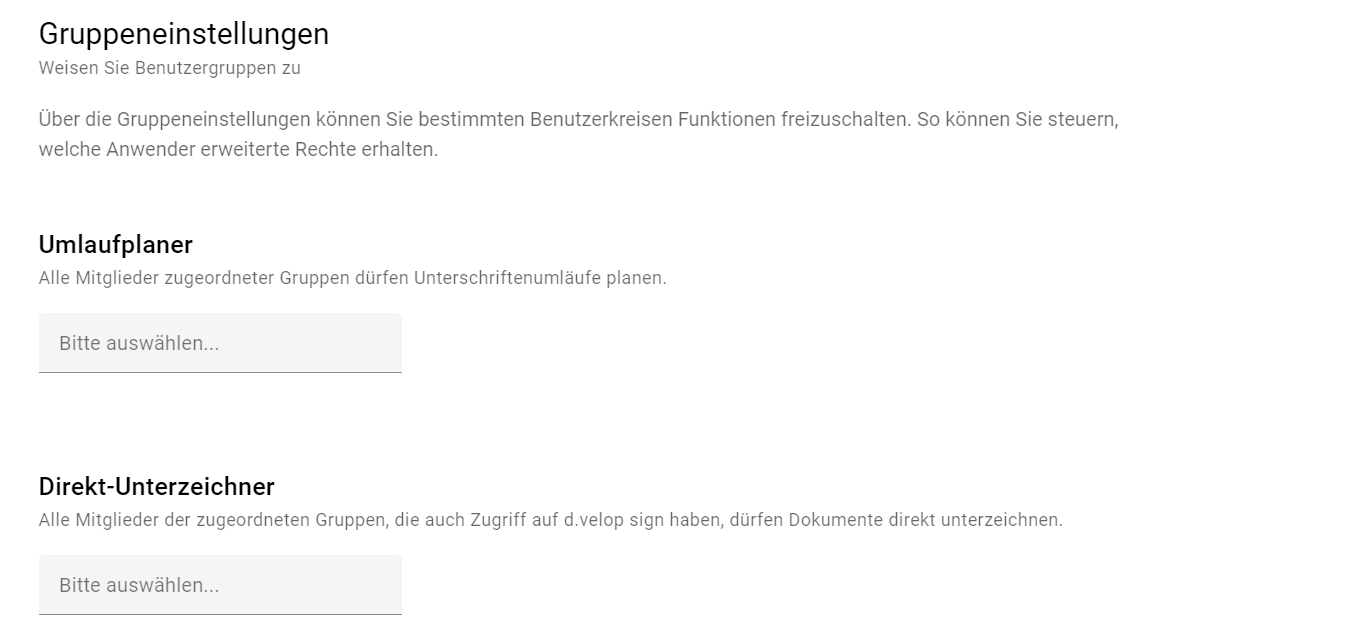
Under Group settings, you can now specify which groups
Are allowed to plan signature cycles (circulation planner),
can sign documents directly without having to add themselves to the signature circulation (direct signatory).
 |
3. Then click on Save.
User area d.velop sign for documents
In the following you will learn how you can digitally sign your documents from d.velop documents.
How do I sign a document in d.velop sign for documents if I have the authorization to sign directly?
How do I sign a document in d.velop sign for documents if I am not authorized to sign directly?
How can external recipients sign a document in d.velop sign for documents?
How do I upload my signature image and customize my signature?
How do I identify myself with sign-me (identification service of D-Trust)?
How do I create a signature circulation?
On the overview page of your d.velop Cloud client, click on the Search tile and select the document you want to sign.
Before you can have a document signed in d.velop sign for documents, the processing must be completed. To do this, select Finish editing in the context action bar at the top of the document.

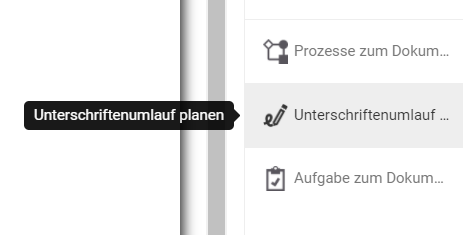
Once you have selected the document, a preview and all central context actions appear in the context action bar to the right of the document. Select Plan signature circulation in the bar.
Set the due date for the circulation.
Enter the names of the signatories and specify the signature level. You can add external recipients with their e-mail address.

Confirm your entry by clicking on the plus to the right of the signature type.
Click on Create to complete the circulation and the signatories will receive the document for signature.
How do I sign a document in d.velop sign for documents if I have the authorization to sign directly?
If you are authorized to sign the documents directly, you can do so without starting a signature circulation.
On the overview page of your d.velop Cloud client, click on the Search tile and select the document you want to sign.
Before you can sign a document in d.velop sign for documents, the processing must be completed. To do this, select Finish editing in the context action bar of the document.

Once you have selected the document, a preview and all central context actions appear in the context action bar to the right of the document. Select Plan signature circulation in the bar.
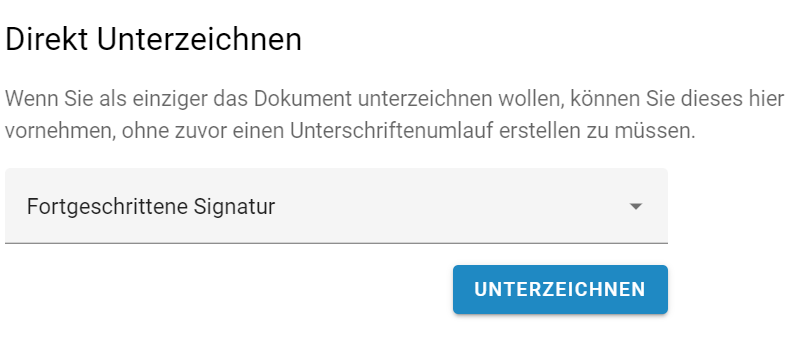
Under the heading Direct signature, select the signature level and click on Sign.
In the document, click on the Sign document with visible field button in the top bar.
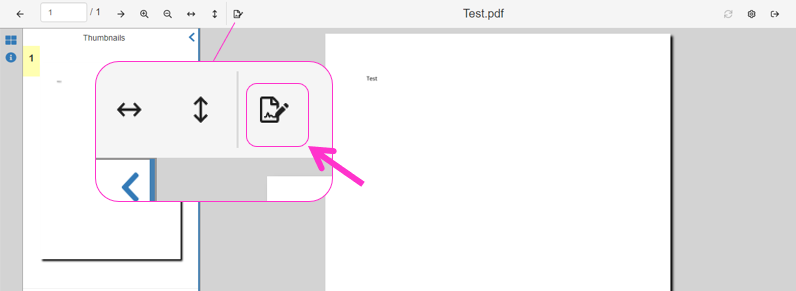
In the document, click the place you would like to sign and then move the mouse pointer to draw a field.
Once you have positioned the signature field as desired, click on the checkmark to confirm your selection.
Sign with the mouse or with your stored signature image and then click Ok.
If you are performing an advanced signature with Swisscom, you can now skip steps 10-12 and click on the exit button at the top right to save the signature.
When you sign with Bundesdruckerei, you log in to Bundesdruckerei with your e-mail address and password in a pop-up window.
Click on Next. If you want to sign with a qualified signature, you must also enter the TAN that you receive via SMS.
Click Sign.
Click on Exit to save the signature.
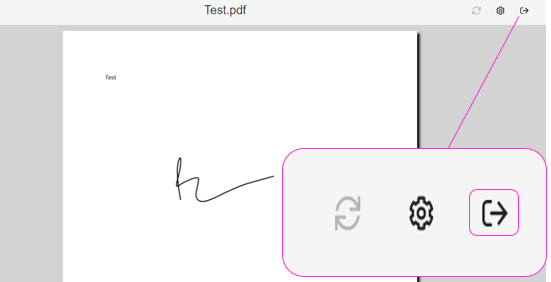
You have successfully signed the PDF document and are automatically redirected to your search results in d.velop documents.
How do I sign a document in d.velop sign for documents if I am not authorized to sign directly?
If you are authorized to sign the documents directly, please proceed as described above. Alternatively, to sign a document yourself, you must add yourself as a signatory in the signature circulation.
Add yourself as a signatory for the document in the signature circulation.
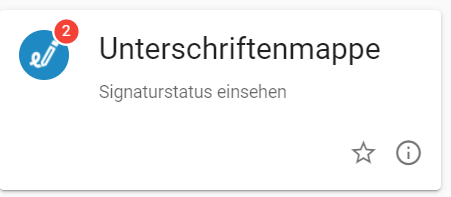
Now select the Signature folder tile on the overview page of your cloud client and click on the name of the document you want to sign.
Click on Signat the bottom right.
Proceed in the same way as in the previous point How do I sign a document in d.velop sign for documents if I have the authorization to sign directly?
After you have successfully signed the PDF document, you will be automatically redirected to your search results in d.velop documents.
How can external recipients sign a document in d.velop sign for documents?
As the recipient of a shared document, you will receive an e-mail notification. Click on View documentin the e-mail.
You receive access to the document and can start the signature process from almost any device with an Internet connection. If you are using a smartphone or tablet, please hold it horizontally in landscape format and use a browser other than Safari.
You will be guided through the signing process.
Select how you want to sign visually.
If a signature with the Bundesdruckerei (sign-me) is required, you will also be asked to register and identify yourself with sign-me. You can find instructions for this here.
Click on Sign and drag the signature field with the mouse to where you want to sign.
As soon as you are finished, end the process with Finish.
For completed documents, the sender and the recipient receive a notification and access via e-mail. The document can then be archived or filed. d.velop sign does not provide for audit-proof long-term storage of the signed documents. This can be done with other products from d.velop.
How do I upload my signature image and customize my signature?
Sign with a signature image in any position. You can select a generated signature image, upload an image of your signature or sign with the computer mouse during the signing process.
Open the overview page of your d.velop cloud tenant: https://<yourcloudtenant>.d-velop.cloud.
Select the Configuration tile.
Select the Signature settings tile in the following menu and click on Open configuration.
The configuration of d.velop sign now opens in a separate window. Click on Customize signature image.
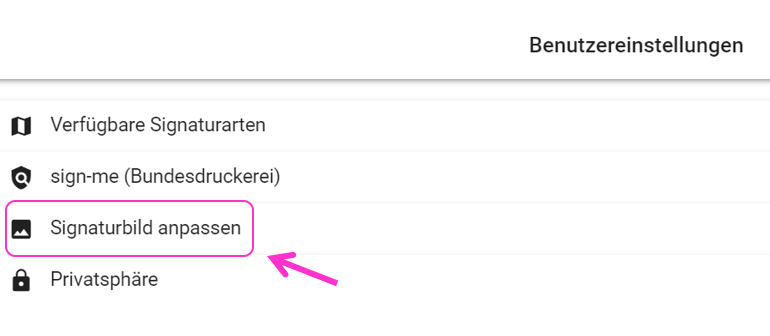
Select a generated signature image, upload an image of your signature (JPG, JPEG, PNG) or select Apply freehand drawing to sign with the computer mouse during the signing process.
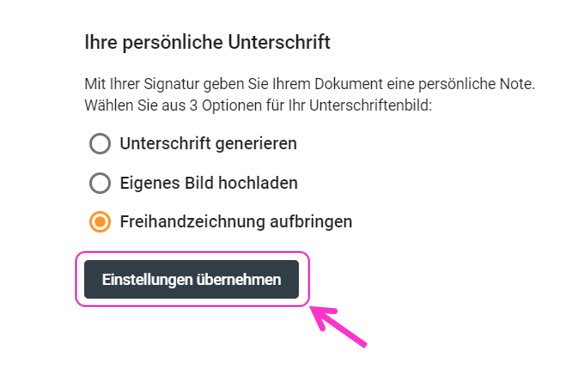
Confirm your change by clicking on Apply settings.
Enable or disable the additional information of your signature image.
Alternatively, you can also make these settings directly in the d.velop sign tile.
To do this, select the d.velop sign tile on the overview page of your cloud client and then simply follow our click instructions here on the general support page.
How do I sign a dependent document?
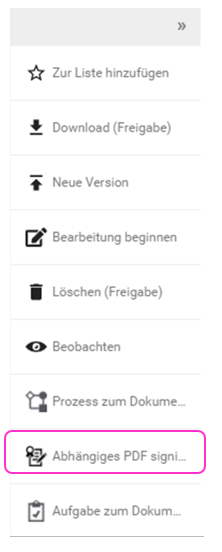
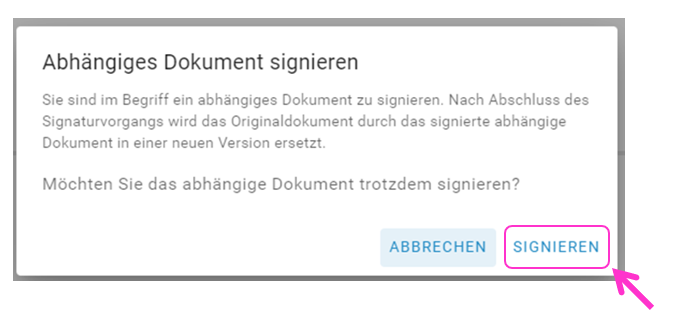
If a "dependent PDF" exists for a document, d.velop sign for documents is able to sign it. However, the original document is replaced by the PDF.
The original document remains in an archive version.
Select the document you want to sign.
Select the Sign dependent PDF in the context action bar.
Confirm your selection by clicking on Sign.
Now you can sign your document as usual.
How do I identify myself with sign-me (identification service of D-Trust)?
If you would like to sign with a qualified signature, you must register once with sign-me, our trust service provider from Bundesdruckerei, and then identify yourself.
Important: The qualified signature is not included in the normal d.velop documents usage, please book the package d.velop sign for documents in the d.velop Store.
Open the overview page of your d.velop cloud tenant: https://<yourcloudtenant>.d-velop.cloud.
Select the Configuration tile.
Select the Signature settings tile in the following menu.
Click on User settings and select Open configuration .
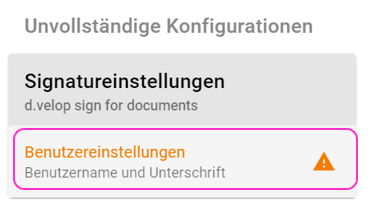
The configuration of d.velop sign now opens in a separate window.
Click on sign-me (Bundesdruckerei) and select Set up new sign-me (Bundesdruckerei) account to display your registration status and start the registration process.
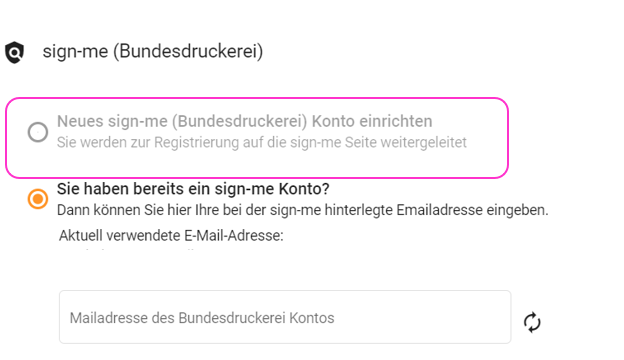
Fill in the fields according to your ID card details, set a password and confirm this by selecting Register. You will then be automatically redirected to the sign-me page for identification.
Attention: Please start your registration from within d.velop sign and not via the link you receive in the registration e-mail from sign-me! Only if you continue your registration from within d.velop sign, you do not need any further coins for your identification.
You can read here on our general support page how to identify yourself once from the application with sign-me (identification service of D-Trust).
Alternatively, you can also make these settings directly in the d.velop sign tile.
To do this, select the d.velop sign tile on the overview page of your cloud client and then simply follow our click instructions here on the general support page.
d.velop sign for documents
June 2022
Release notes for the d.velop sign for documents interface
🆕 Provision of documents via TaskApp
If a signatory has no rights to the planned document but has a login, the document is made available via the tasks (TaskApp) and the signature folder.
Existing settings of d.velop sign, which the signatory has stored, are thus taken into account.
Prerequisite: d.velop documents (cloud) or hybrid with. "all in one Current 2022 Q1 Preview 01"
Improvements
If a signatory does not have a d.velop documents login to an existing document in the signature circulation, this is now recognized and the document is made available via the "API key system user".
#Happysigning
April 2021
Release notes for the d.velop sign for documents interface
🆕Now external users can also sign documents!
Even persons who neither have access to d.velop documents nor are created as users can now be scheduled into the signature circulation.
The e-mail address of the external user must be entered in the name field in the signature circulation and confirmed with the plus button.
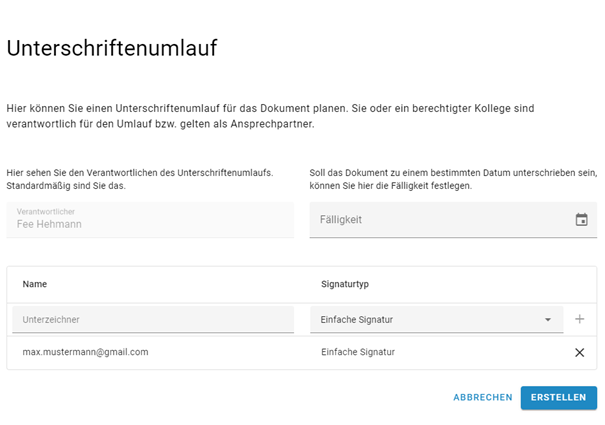 |
Sign documents directly yourself
Documents can now be signed directly without having to plan a signature circulation. The respective user must be included in one of the groups of "direct signatories" and have access to d.velop sign.
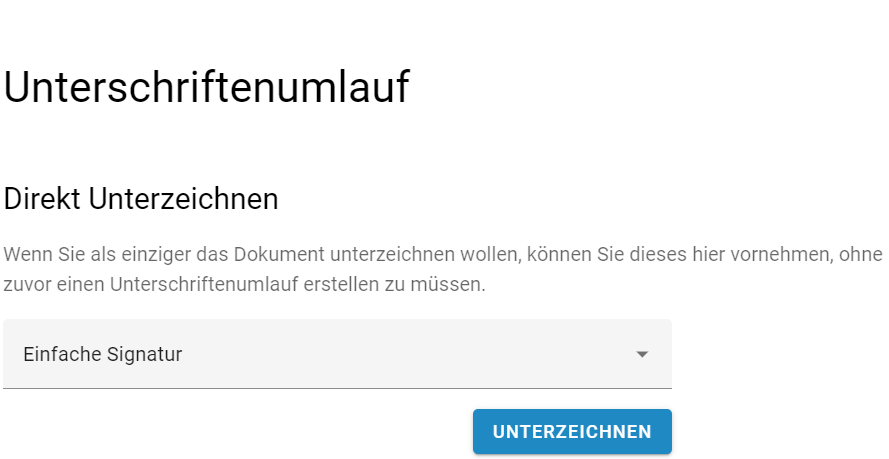 |
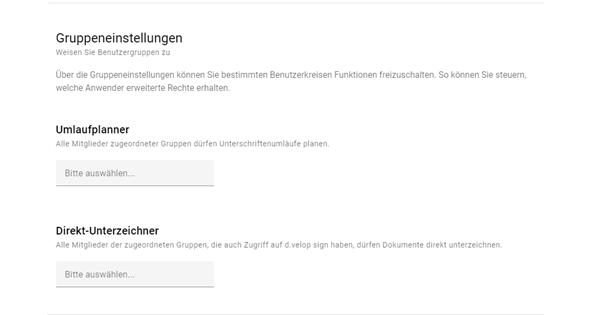
Control of usage rights via the group settings
From now on, both rights for direct signing and the "Schedule signature circulation" function can be assigned to users via the group settings. The persons simply have to be added to the respective group in the group settings.
Circulation planner: All members of this group may plan signature cycles.
Direct signatory: All members of this group who also have access to d.velop sign can sign documents directly. You do not have to add yourself to the signature circulation, but can sign the document directly.
 |
Improvements
Optimized signature folder
Open tasks now appear first and are sorted by due date. Completed tasks appear in a separate table and are sorted by completion date.
Adjust signature circulation subsequently
Persons can be subsequently removed from rounds that have already started if they have not yet signed.
If the circulation was rejected, the entire circulation can be canceled.
#Happysigning
December 2020
Release notes for the d.velop sign for documents interface
🆕The circulation of signatures can now be planned!
A signature circulation with any number of participants can now be planned directly for documents. The interface is called up via the context action in the document detail view.
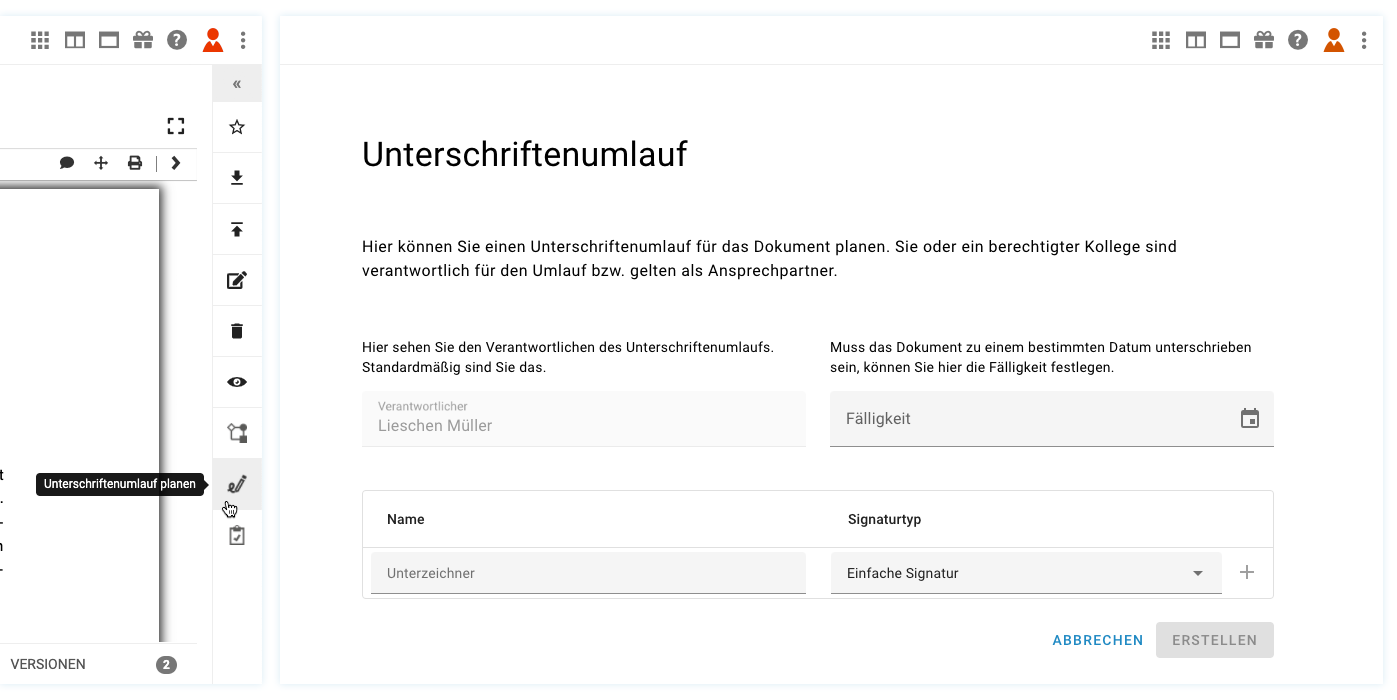 |
For the circulation, the person responsible (by default, this is the registered user), the due date and the signatories can be specified. In addition, the signature level can be determined individually for each signatory. Once the circulation has been created, it is displayed to the person responsible and all participants in the signature folder. In addition, each participant receives a task via the TaskApp with a request to sign the document.
New signature folder & Signature circulation view
The signature folder displays all signature cycles in which you yourself are requested to sign a document or in which you have been entered as the person responsible for the signature cycle.
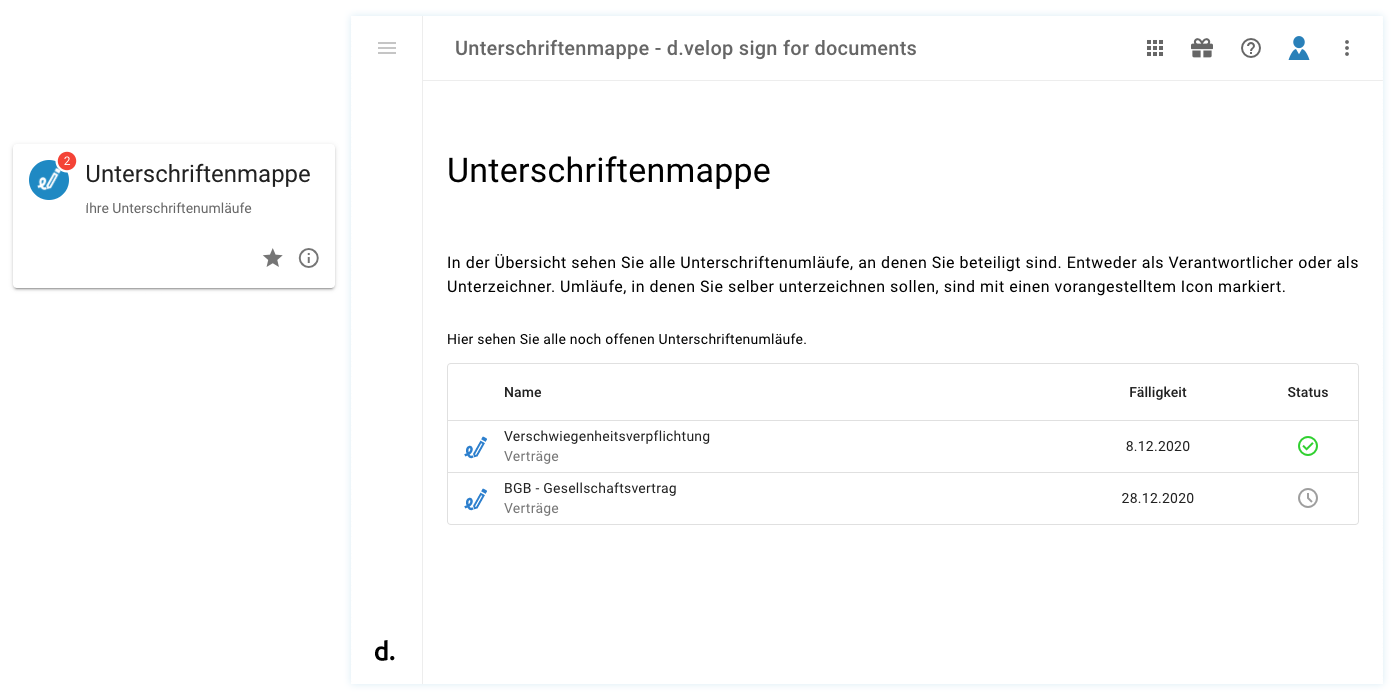
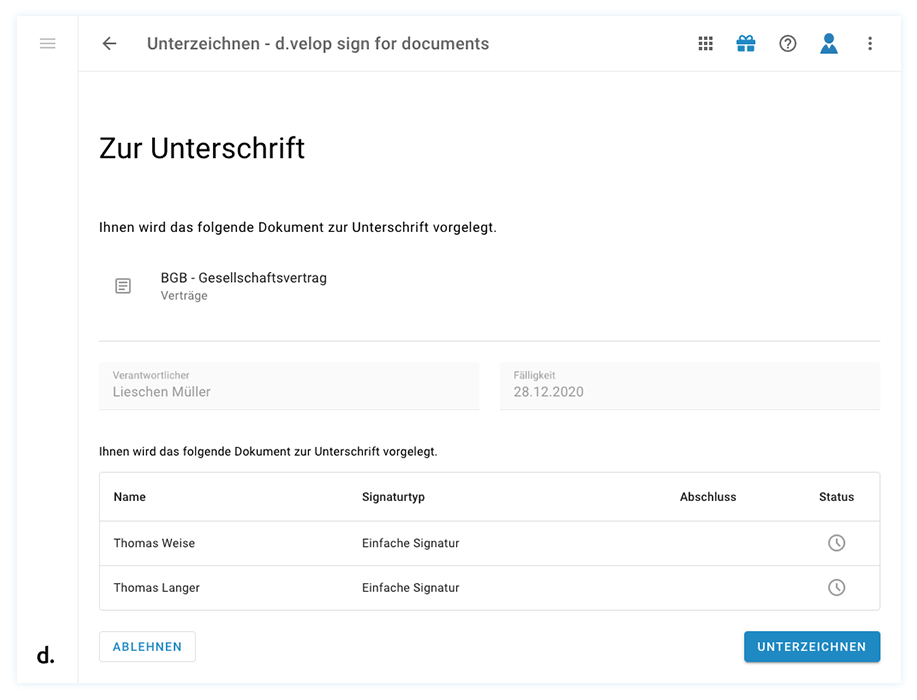
The current status of the circulation can be viewed in the signature circulation view and the document can also be signed directly from here.
Now the storage of & configuration in d.velop documents is done automatically!
Once the document has been successfully signed, it is automatically stored in the repository as a new version.
In order for d.velop sign for documents to interact with the applications of d.velop documents, some settings and links must be set. This is now done fully automatically, but should still be checked once in the configuration for correctness.
#Happysigning
Questions about d.velop sign for documents
Can d.velop sign be used in conjunction with the Case Manager Contract?
The document view of the Case Manager is d.3one. The context action is therefore also available there.
Can external persons sign with sign for documents?
Yes, an e-mail address can be entered manually in the circulation. This recognizes the interface and splits the document externally. The same applies to users from the predefined list if they do not have write access to the document in d.velop documents.
Why is the option to sign my document not displayed in the context action bar?
Before you can sign a document in d.velop sign for documents, the processing must be completed. To do this, select Finish editing in the context action bar of the document.
The Sign document should then appear in the context action bar.
What requirements must be met so that d.velop sign for documents can be used in conjunction with an OnPrem d.3 system (hybrid system)?
The following requirements must be met:
An existing d.3 system with current d.3ecm all in one setup(https://portal.d-velop.de/products/de/d-3ecm-all-in-one/d-3ecm-all-in-one)
d.ecs infrastructure via currentfeed of the software distribution must be active
d.3 System has a generally valid certificate, e.g. from VeriSign, Entrust or Let's encrypt
d.3 System is accessible from the Internet (e.g. via ReverseProxy located in the DMZ)
Port 443 is enabled in the firewall
Cloud environment is booked
A base address for the cloud is configured in the HTTP Gateway app
How can I forward a document in d.velop sign for documents to external parties for signature?
You can find the corresponding instructions here.